
Cisco Meraki Cloud integration (automatic setup)
Integrate your Cisco Meraki Devices with your ClickGen account and let your guests connect to the internet.
NOTE: There is a slower, manual way to add your Cisco Meraki devices as well, if you need or want more of a hands-on approach.
Required
- Active ClickGen plan.
- A location with an associated campaign.
Meraki API credentials
First, you'll need to grab your Meraki Dashboard API key.
- Log in to your Meraki Cloud.
- Go to Organization, then click on Settings.
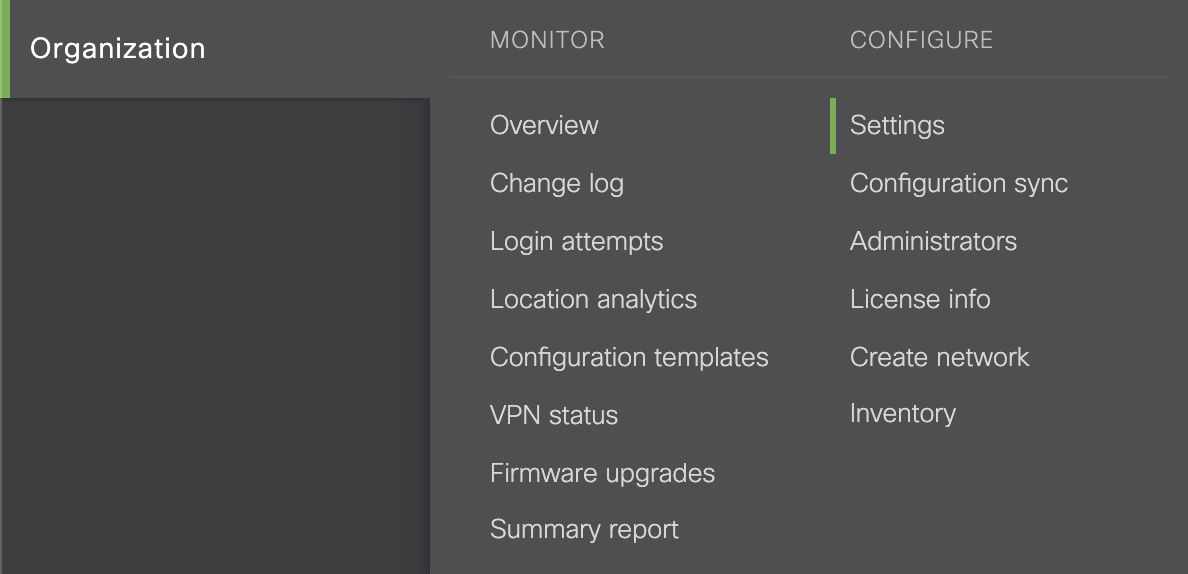
- Be sure that you have Dashboard API access enabled.

- Follow the link in the Dashboard API access description to visit your profile page.
- Once on your profile page, click on Generate new API key. Be sure to copy and save your API key for the next steps.

ClickGen Setup
- Select Devices from the main menu.
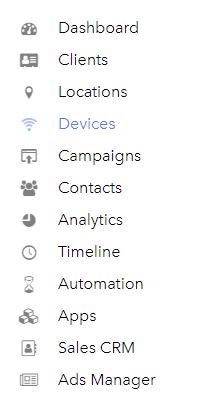
- Click Add New Device.

- Select the Location, enter a Device Name, and choose Cisco Meraki.
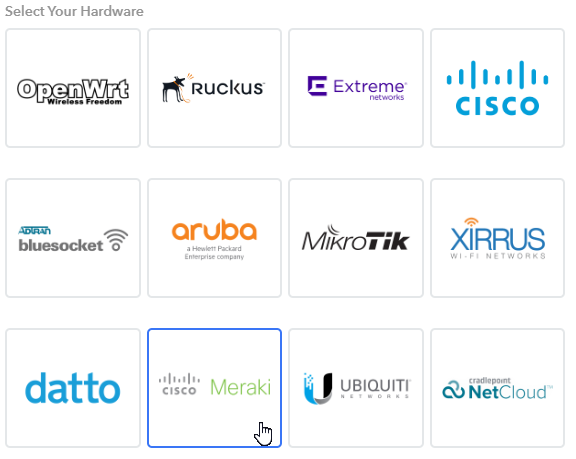
- Click Cisco Meraki to start automatic setup.
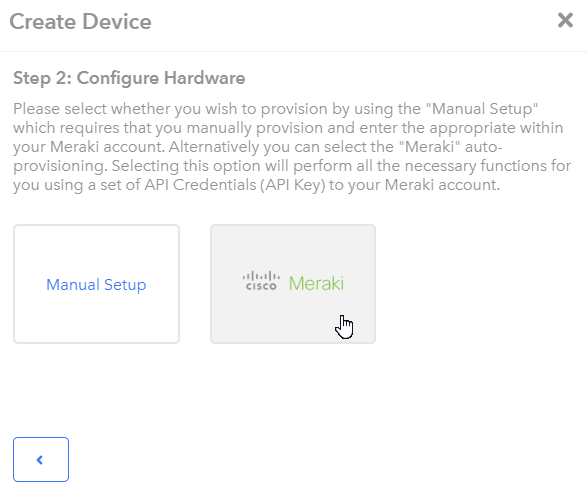
- Enter your API Key that you retrieved from your Meraki Cloud above, make sure Save my credentials is checked, then click Proceed.
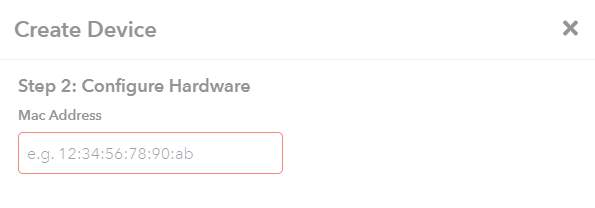
- Click Proceed.
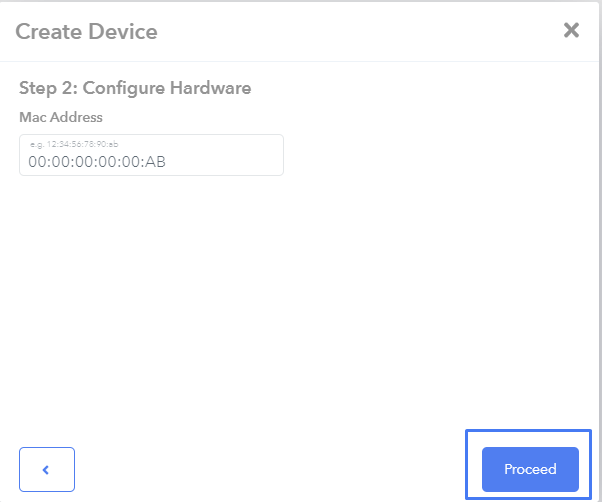
- Select the Meraki Cloud Organization, Network and SSID that you would like to apply the settings to, then click Proceed.

- Review the information, and then click Confirm Setup.
Need Help?
If you have any questions, please contact our support team.
Unable to access campaign
If you are not able to access your campaign after connecting to WiFi, or if you are entered in a loop when attempting to access any specific URL, please make sure that your custom social portal URL has been added as your server URL and in your list of allowed domains.
Permission Denied 🙁
Sorry, but you do not have permission to view this content. You might need to register as a Technician Installer here ->.